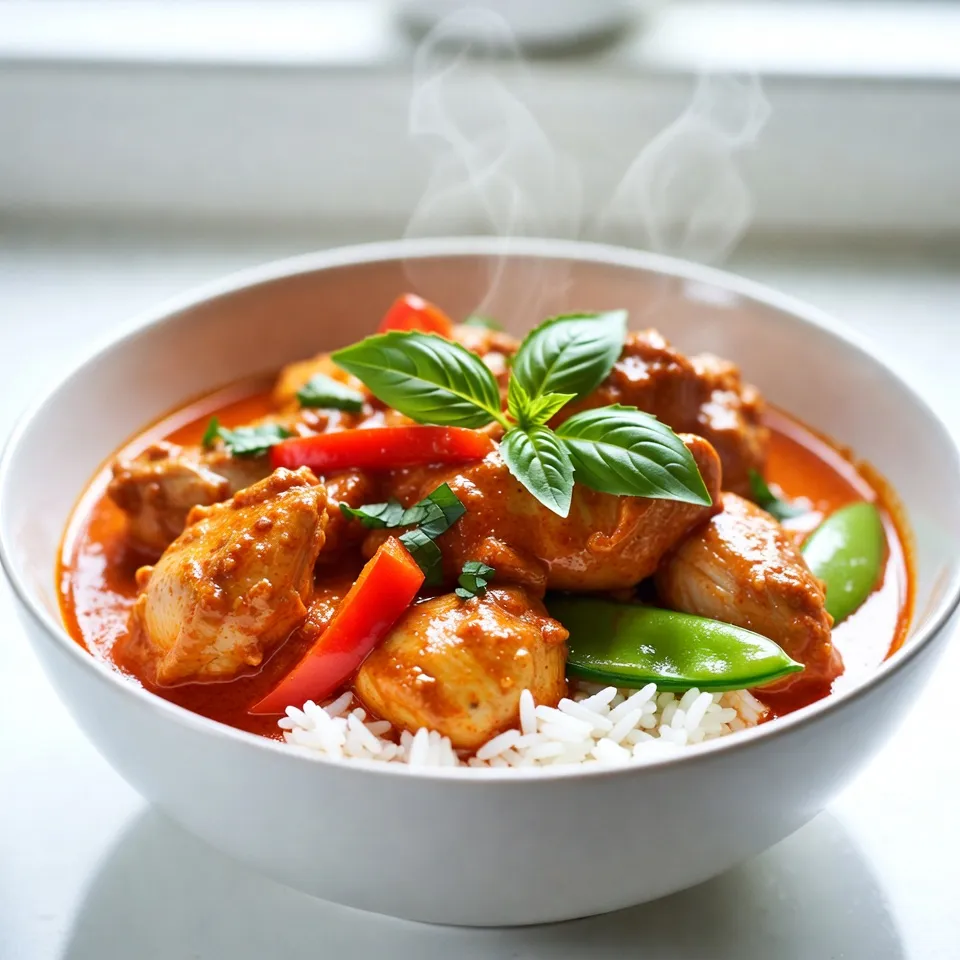
Are you craving a dish that’s both flavorful and easy to make? Look no further than this Thai Coconut Curry Chicken! With tender chicken, creamy coconut milk, and vibrant vegetables, this recipe packs a punch. I’ll guide you through simple steps that even a beginner can follow. Get ready to bring the tastes of Thailand to your kitchen. Let’s dive into this mouthwatering recipe!
Why I Love This Recipe
- Flavorful and Aromatic: This Thai Coconut Curry Chicken is bursting with vibrant flavors, thanks to the combination of red curry paste, coconut milk, and fresh herbs.
- Quick and Easy:
- Customizable: You can easily adjust the spice level or swap in your favorite vegetables, making this recipe versatile for any palate.
- Comforting and Satisfying: Served over fluffy jasmine rice, this curry is a warm, hearty meal that feels like a hug in a bowl.
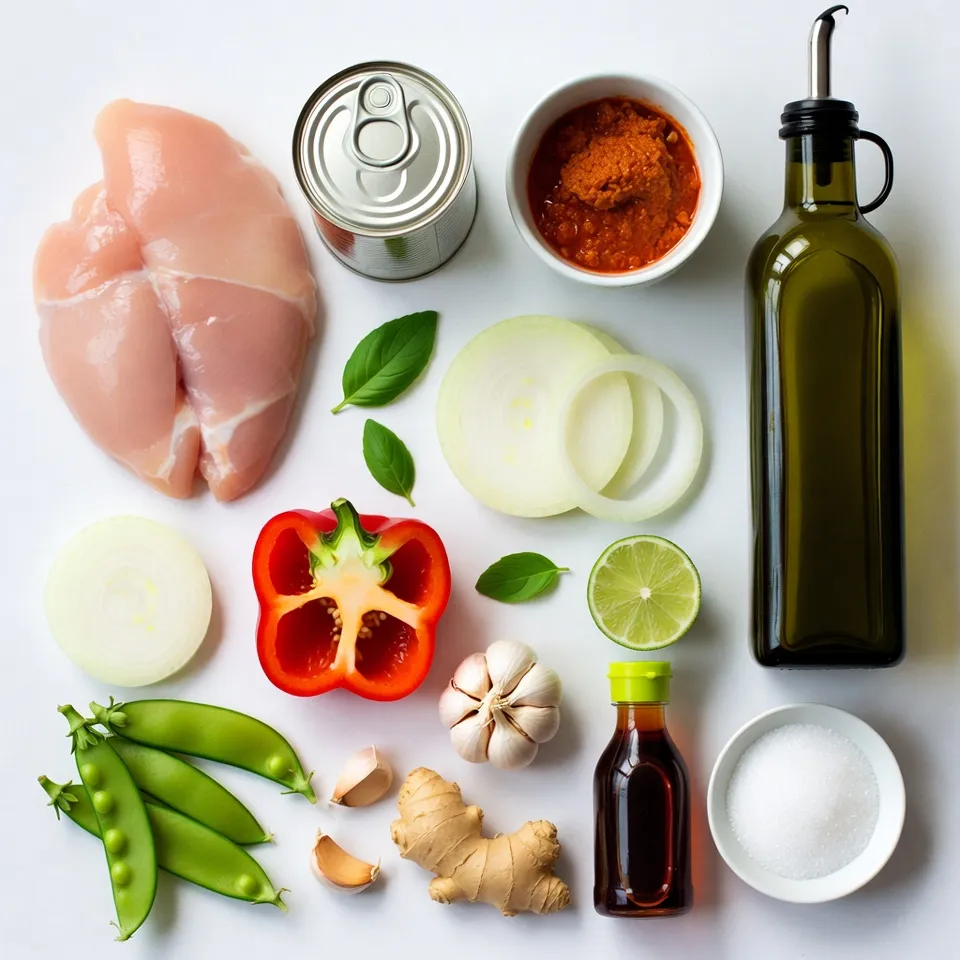
Ingredients
Main Ingredients
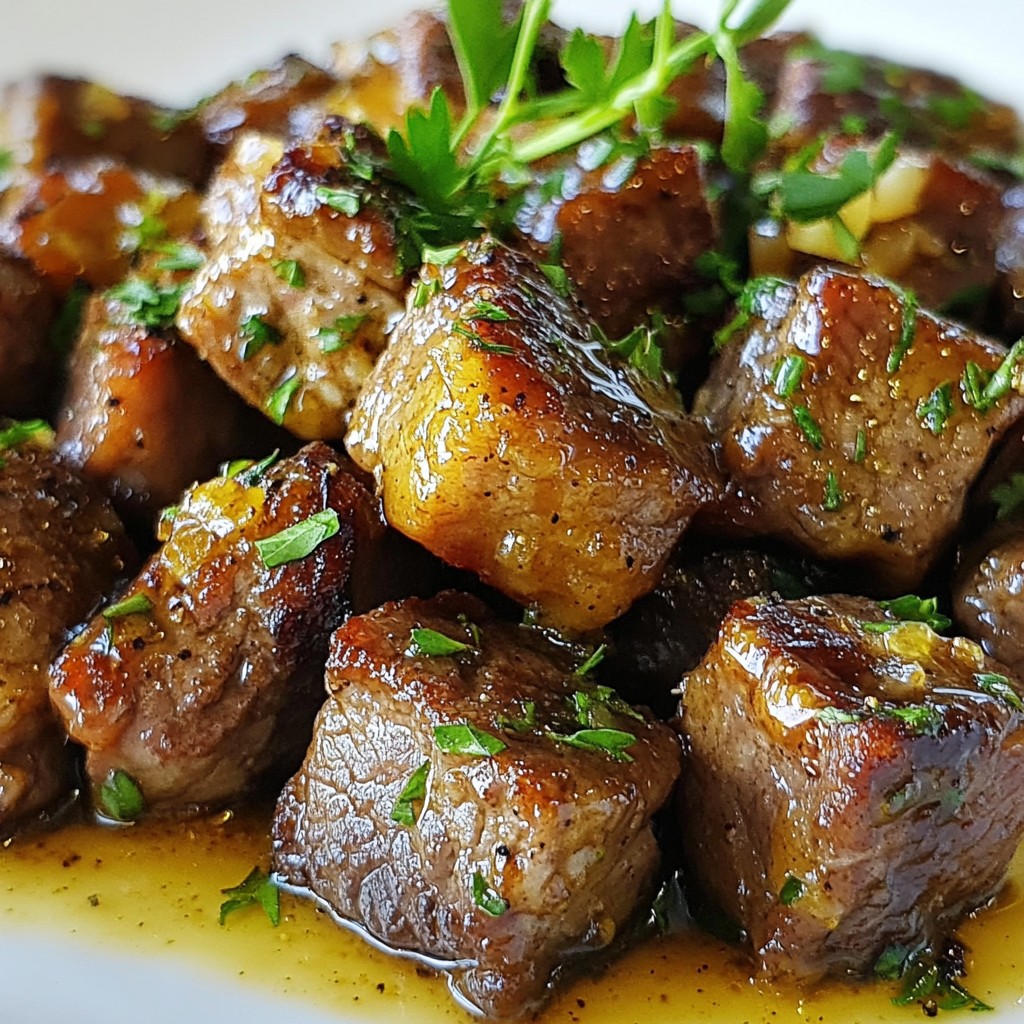
– 1 lb boneless chicken thighs, cut into bite-sized pieces
– 1 can coconut milk
– 2 tablespoons red curry paste
Vegetables
– 1 medium onion, sliced
– 1 red bell pepper, sliced
– 1 cup snap peas, trimmed
Aromatics and Seasonings
– 2 cloves garlic, minced
– 1 tablespoon fresh ginger, grated
– 2 tablespoons fish sauce (or soy sauce for a vegetarian option)
– 1 tablespoon sugar (palm sugar if available)
When you gather these ingredients, you’re setting the stage for a delightful dish. The chicken provides protein and pairs well with the creamy coconut milk. Red curry paste adds a bold kick with its mix of spices. Don’t forget the veggies! They add color and crunch. The fresh garlic and ginger bring a fragrant aroma. Fish sauce adds depth, while sugar balances the heat. Together, these ingredients create a symphony of flavors in your Thai Coconut Curry Chicken.
Step-by-Step Instructions
Preparing the Base
1. Heat 1 tablespoon of olive oil in a large skillet over medium heat.
2. Add 1 medium sliced onion. Sauté it for about 3 minutes until it softens.
3. Next, add 2 minced garlic cloves and 1 tablespoon of grated ginger. Sauté for another minute to release their aroma.
4. Stir in 2 tablespoons of red curry paste. Cook for 1 more minute to deepen the flavor.
Cooking the Chicken
1. Add 1 pound of bite-sized chicken thighs to the pan. Cook until the chicken is no longer pink, about 6-7 minutes.
2. Pour in 1 can of coconut milk. Stir well to combine. Bring the mixture to a gentle simmer. Cover and let it cook for 10 minutes.
Finishing Touches
1. After 10 minutes, add 1 sliced red bell pepper and 1 cup of trimmed snap peas to the curry.
2. Stir in 2 tablespoons of fish sauce and 1 tablespoon of sugar. Simmer uncovered for 5 minutes until the veggies are tender but bright.
3. Remove from heat and squeeze the juice of 1 lime into the curry. Stir well to mix.
4. Taste and adjust seasoning with more fish sauce or sugar as needed.
5. Serve hot over jasmine rice and garnish with fresh basil leaves.
Tips & Tricks
Cooking Techniques
– Tips for sautéing: Start with a hot pan. Heat the olive oil until it shimmers. Add onions first and stir often. This helps them soften and sweeten. When you add garlic and ginger, watch closely. They can burn quickly. Stir for just one minute until fragrant.
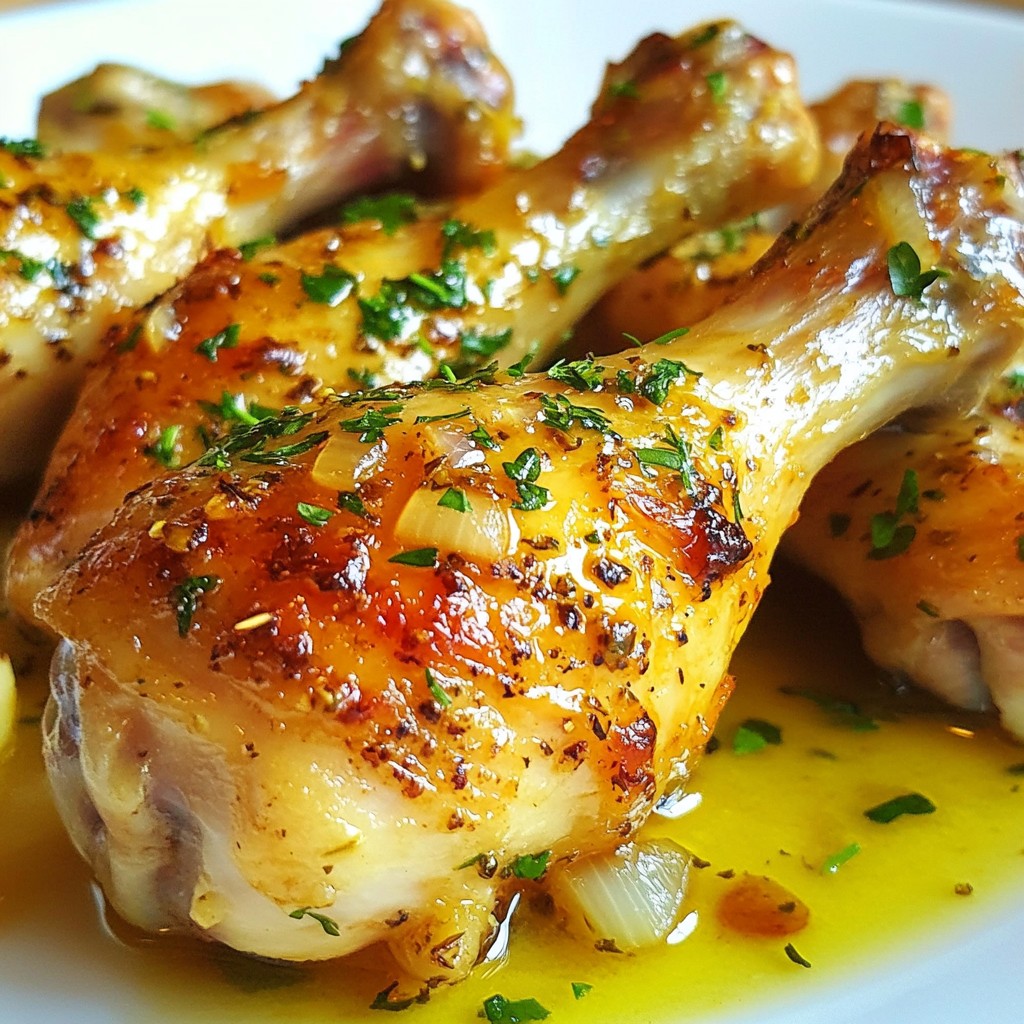
– Ensuring tender chicken: Cut chicken thighs into small pieces. This helps them cook evenly. Cook over medium heat until no pink shows. This takes about 6-7 minutes. Avoid overcrowding the pan. If needed, cook in batches. This keeps the heat steady.
Flavor Enhancements
– Balancing flavors with lime: Fresh lime juice adds brightness. Squeeze it in at the end. This cuts through the richness of the coconut milk. Taste as you go. Adjust to your liking. A little extra lime can make a big difference.
– Choosing the right curry paste: Red curry paste is key for flavor. Look for high-quality brands. They have a good mix of spices. If you like it spicy, choose a paste with a higher heat level. You can always add more if you want extra kick.
Presentation Ideas
– Garnishing with basil: Fresh basil makes your dish pop. Add it just before serving. This keeps the leaves bright and fresh. You can also use Thai basil for a more authentic touch.
– Serving suggestions with jasmine rice: Serve the curry over fluffy jasmine rice. The rice absorbs the sauce well. You can also serve it in bowls for a cozy feel. Add lime wedges on the side for extra flavor.
Pro Tips
- Choose the Right Curry Paste: Different brands of red curry paste vary in spiciness and flavor. Taste a small amount before adding it to your dish to ensure it meets your heat preference.
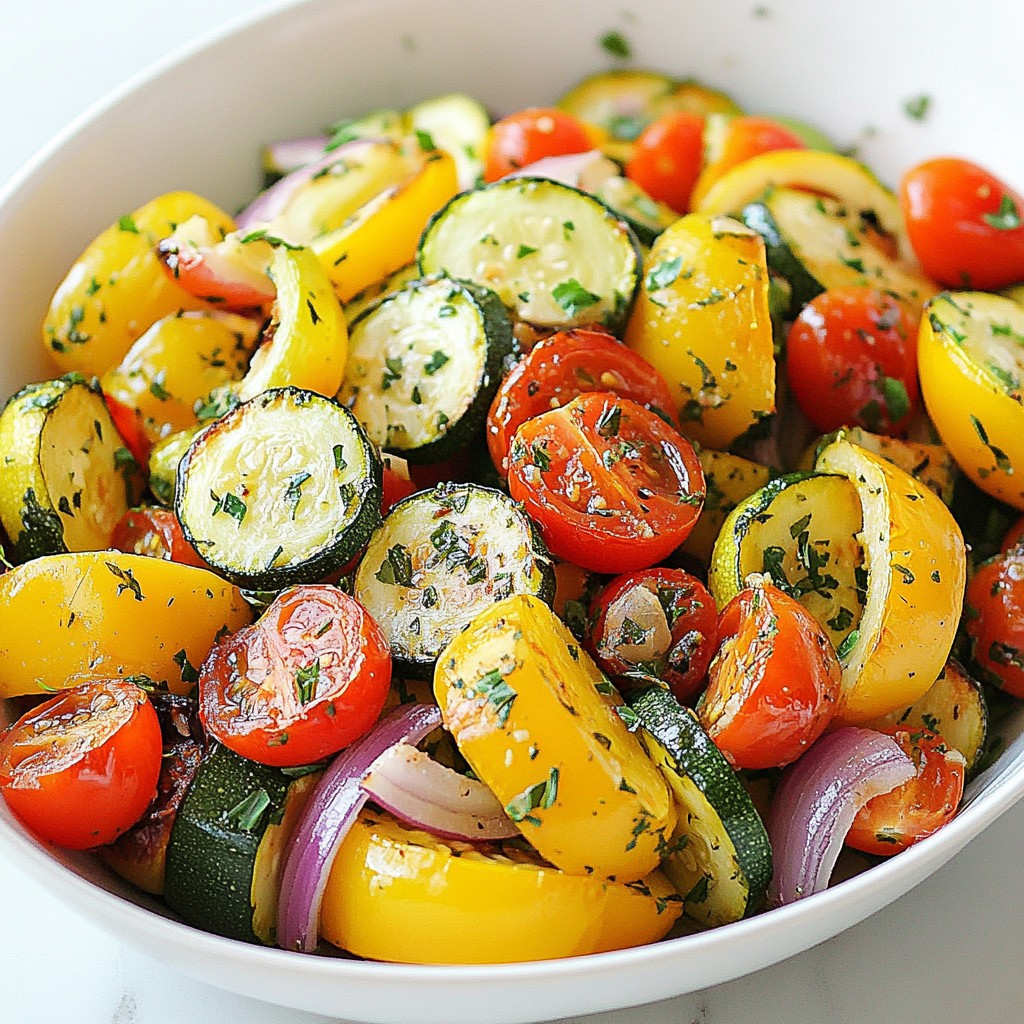
- Customize Your Veggies: You can add other vegetables like zucchini or eggplant for more variety. Just make sure to adjust cooking times so that everything remains tender yet crisp.
- Fresh Herbs Matter: Using fresh basil as a garnish enhances the flavor significantly. For an extra touch, try adding fresh cilantro or mint as well.
- Adjusting Creaminess: If you prefer a thicker curry, let it simmer uncovered for a few extra minutes to reduce the coconut milk, concentrating the flavors.
Variations
Vegetarian Option
You can easily make this dish vegetarian. Instead of chicken, use tofu. Tofu adds protein and absorbs flavors well. Just cut it into bite-sized cubes. Sauté it the same way as chicken. Use vegetable broth instead of fish sauce for a fully plant-based flavor. This swap keeps the dish rich and tasty.
Spice Level Adjustments
You can control the heat of your curry. For a mild dish, use less red curry paste. This makes it friendly for all taste buds. If you like heat, add more paste or fresh chilis. You can also try different curry pastes. Green curry paste adds a fresh twist, while yellow curry paste is milder.
Add-in Ingredients
Feel free to get creative with your curry. Other veggies like carrots, zucchini, or broccoli work great. They add color and nutrition. You can also try different proteins. Shrimp or chickpeas are excellent swaps. They bring their own unique taste and texture to the dish.
Storage Info
Refrigeration Guidelines
To store leftovers, let the curry cool first. Place it in an airtight container. It will stay fresh for up to three days in the fridge. When you want to reheat, use a pot on low heat. Stir occasionally to warm it evenly. You can also use a microwave. Heat in short bursts, stirring in between.
Freezing Instructions
You can freeze the curry for later use. Transfer it to a freezer-safe container. Make sure to leave some space at the top for expansion. It can last up to three months in the freezer.
Tips for thawing and reheating
To thaw, move it to the fridge overnight. For quick thawing, place the container in cold water. When reheating, warm it on the stove or in the microwave. If it seems thick, add a splash of water or coconut milk to get the right consistency.
FAQs
What can I use instead of coconut milk?
If you need a dairy-free option, you can use almond milk or soy milk. These alternatives work well in many recipes. You can also make your own coconut milk substitute. Blend 1 cup of water with 1 tablespoon of shredded coconut. Strain it, and use the liquid. This gives you a fresh, coconut-like flavor.
Can I make this recipe ahead of time?
Yes, you can prepare this dish ahead of time. Cook the curry and let it cool. Store it in an airtight container in the fridge for up to three days. When you want to eat it, reheat gently on the stove. Add a splash of water if it’s too thick.
What is the origin of Thai coconut curry?
Thai coconut curry comes from Thailand. It has deep cultural roots in Thai cooking. The dish reflects the mix of flavors and spices found in the region. Many versions exist, such as green, red, and yellow curries. Each has its own unique taste. The use of coconut milk makes these curries rich and creamy.
In this blog post, we explored how to make a flavorful Thai coconut curry using simple ingredients. You learned about the main components like chicken, coconut milk, and red curry paste. I shared step-by-step instructions for cooking, tips for flavor balance, and variations for different tastes. Remember, you can adjust spice levels, substitute proteins, and store your curry easily. Enjoy creating your own delicious dish, and don’t hesitate to try new ingredients. Happy cookin