Summer is here, and what better way to celebrate than with Cherry Chocolate Chip Ice Cream? This delightful treat combines juicy cherries and rich chocolate into a creamy, refreshing dessert. You’ll love making this easy recipe at home. In this post, I’ll guide you step-by-step, share some handy tips, and suggest fun variations to try. Let’s dive in and create a sweet summer favorite that everyone will enjoy!
Why I Love This Recipe
- Fresh and Fruity: The combination of fresh cherries and rich chocolate creates a delightful balance of flavors that is perfect for summer.
- Easy to Make: This recipe requires minimal ingredients and straightforward steps, making it accessible for cooks of all skill levels.
- Customizable: You can easily adjust the sweetness or add different mix-ins like nuts or other fruits to suit your taste.
- Perfect for Sharing: This recipe yields enough servings to enjoy with family and friends, making it a great addition to gatherings.
Ingredients
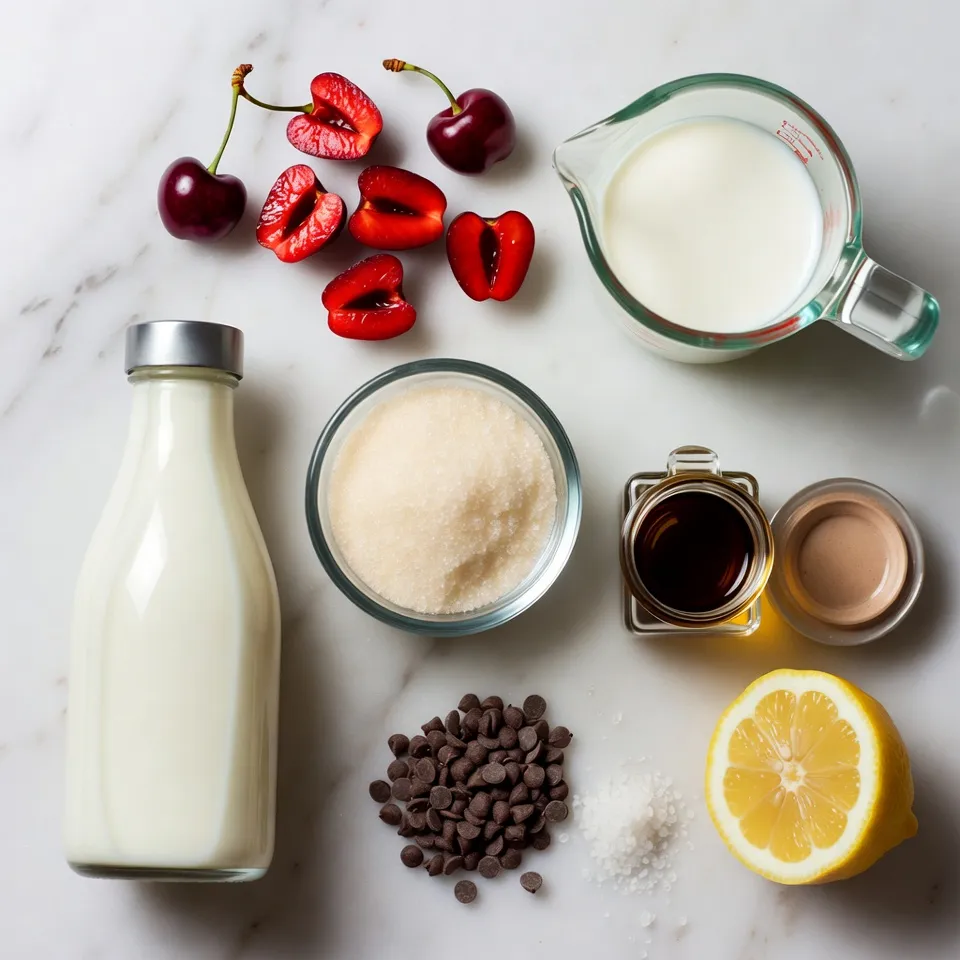
Fresh Cherries
I love using fresh cherries in this recipe. You need 2 cups of ripe cherries. Make sure to pit and halve them. Fresh cherries add a sweet and tart flavor that is key to this ice cream. They also bring a lovely color to your treat.
Cream and Milk
For a rich and creamy texture, use 1 cup of heavy cream and 1 cup of whole milk. The cream gives the ice cream its smoothness. Whole milk helps balance the richness. Together, they create a perfect base for your cherry chocolate chip ice cream.
Sweeteners and Flavorings
For sweetness, you will need 3/4 cup of granulated sugar. Sugar enhances the flavors of the cherries and chocolate. You also need 1 teaspoon of vanilla extract for a warm note. Lastly, add a pinch of salt to boost the overall taste. A tablespoon of lemon juice brightens the cherry flavor too.
Step-by-Step Instructions
Preparing the Cherry Mixture
First, gather your fresh cherries. You need two cups, pitted and halved. Next, place the cherries in a medium saucepan. Add one tablespoon of lemon juice and a quarter cup of granulated sugar. Cook the mixture over medium heat for about five to seven minutes. Stir it occasionally. You want the cherries to soften and release their juices. After cooking, remove the pan from heat and let it cool. Once cooled, mash the cherries slightly with a fork. This will give you a chunky cherry sauce. Set this aside for later.
Making the Ice Cream Base
Now, let’s move to the ice cream base. In a separate mixing bowl, whisk together one cup of heavy cream, one cup of whole milk, and half a cup of sugar. Add one teaspoon of vanilla extract and a pinch of salt. Mix these ingredients until they are well combined. This base should be creamy and sweet.
Churning and Mixing
Pour the cream mixture into your ice cream maker. Follow the manufacturer’s instructions for churning. This process usually takes around 20 to 30 minutes. During the last five minutes of churning, slowly add in your cherry mixture and half a cup of semi-sweet chocolate chips. This is when the magic happens! The cherries and chocolate will mix evenly into your ice cream. Once done, transfer the ice cream to an airtight container. Freeze it for at least four hours, or until firm. Before serving, let the ice cream sit at room temperature for a few minutes. This will make it easier to scoop. Enjoy your homemade cherry chocolate chip ice cream!
Tips & Tricks
Selecting the Best Cherries
To make the best Cherry Chocolate Chip Ice Cream, use ripe, fresh cherries. Look for cherries that are deep red and firm. They should smell sweet and juicy. Avoid any that are soft or have blemishes. If you can, buy them from a local farmer’s market. Fresh cherries make a big difference in taste.
Achieving the Right Texture
For a creamy texture, use heavy cream and whole milk. The fat content helps the ice cream stay smooth. When you churn the mixture, it should thicken nicely. If it’s too icy, try mixing in a bit more cream. Always let the ice cream sit out for a few minutes before serving. This helps it soften to the perfect scoopable texture.
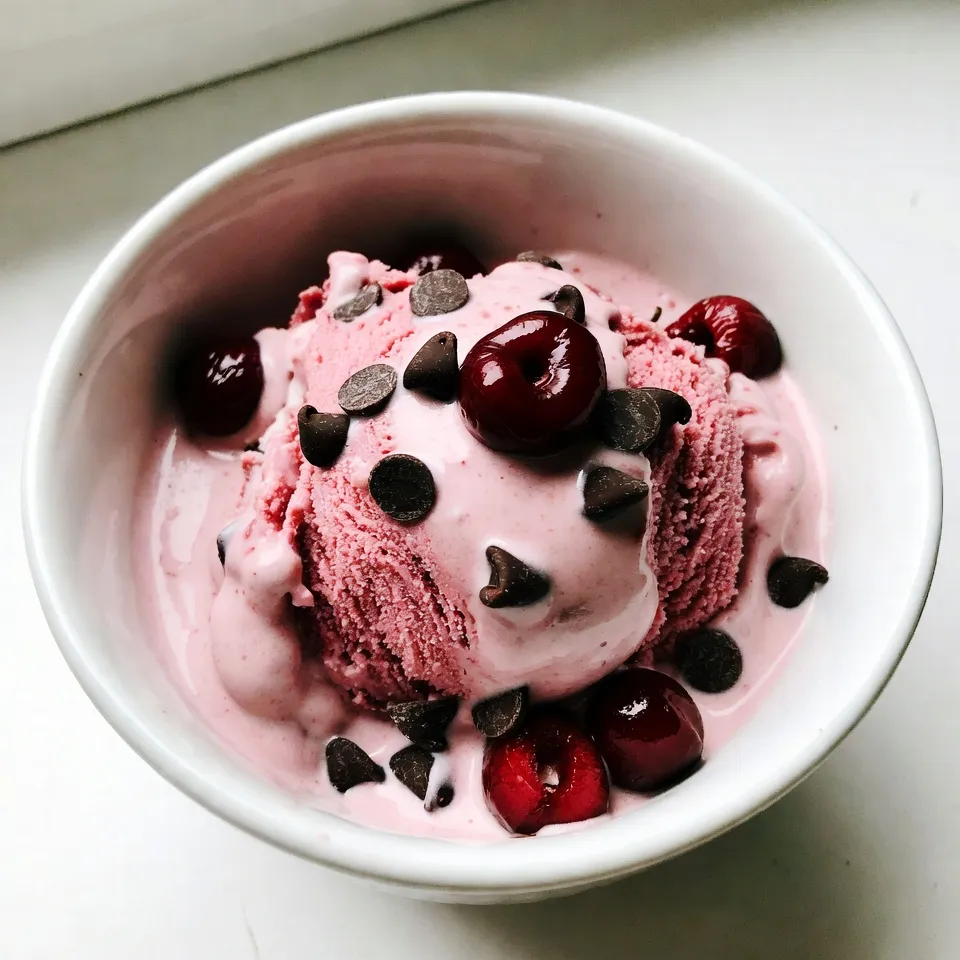
Serving Suggestions
When serving your ice cream, think about how to make it special. Scoop it into colorful bowls for a fun look. Add whole cherries on top for a pop of color. A drizzle of chocolate sauce adds extra sweetness. You can also serve it with a slice of cake or pie for a great dessert combo.
Pro Tips
- Use Fresh Cherries: For the best flavor and texture, always opt for fresh, ripe cherries when making this ice cream.
- Chill the Mixture: Before churning, make sure to chill the cream mixture in the refrigerator for at least an hour for a smoother ice cream texture.
- Experiment with Chocolate: Try using dark chocolate or even white chocolate chips for a different flavor profile.
- Serving Suggestions: Serve with a sprinkle of crushed nuts or a few mint leaves for added flavor and visual appeal.
Variations
Dairy-Free Version
You can make a dairy-free Cherry Chocolate Chip Ice Cream easily. Use coconut cream instead of heavy cream. Swap whole milk with almond milk or oat milk. This change keeps the flavor rich and smooth. The creamy texture stays, plus you keep that lovely cherry taste. It’s a perfect treat for anyone who is lactose intolerant or vegan.
Adding Nutmeg or Other Flavors
Want to spice things up? Add a pinch of nutmeg for warmth. You could also try cinnamon for a cozy twist. Almond extract can enhance the cherry flavor too. Each of these additions will change the ice cream’s taste. It’s fun to mix flavors until you find your favorite.
Using Different Types of Chocolate
Chocolate chips are great, but don’t stop there! You can use dark chocolate or white chocolate. Each type brings a new taste. Chunks of chocolate bars will give you different textures. Try mixing in chocolate fudge for extra richness. These variations can make your ice cream even more special.
Storage Info
Best Practices for Freezing
To keep your Cherry Chocolate Chip Ice Cream fresh, store it in an airtight container. Press a piece of plastic wrap directly on the ice cream surface before sealing the lid. This helps prevent ice crystals. Place the container in the coldest part of your freezer. Avoid frequent opening, as warm air can spoil the texture.
How Long It Lasts in the Freezer
Homemade ice cream tastes best within two weeks. After that, it may lose flavor and texture. However, if stored well, it can last up to a month. Always check for freezer burn or off smells before serving. If you notice these signs, it’s best to toss it.
Rechurning After Storage
If your ice cream becomes too hard, you can re-churn it. Let it sit out for about 10-15 minutes to soften slightly. Then, place it back in the ice cream maker for a quick churn. This restores its creamy texture. Afterward, refreeze it in an airtight container for later enjoyment.
FAQs
What other desserts can I make with cherries and chocolate?
You can make many tasty treats with cherries and chocolate. Brownies with cherry chunks are a hit. Chocolate-covered cherries make a sweet snack. Cherry chocolate tarts are great for special occasions. You can also bake cherry chocolate muffins for breakfast. Mix chocolate and cherry in yogurt for a quick dessert. Each option brings out the lovely flavor of both ingredients.
Can I use frozen cherries for this recipe?
Yes, you can use frozen cherries. Just thaw them first and drain any extra juice. This helps keep the ice cream from getting too watery. Frozen cherries are also good if fresh ones are not in season. They still give you that sweet and tart flavor. Your ice cream will taste great either way.
How do I prevent ice crystals in homemade ice cream?
To prevent ice crystals, keep the ice cream cold while churning. Use a pre-chilled ice cream maker for best results. Be sure to churn the ice cream long enough to get air in it. Adding a bit of alcohol can also help, as it lowers the freezing point. Store the ice cream in an airtight container to reduce air exposure. These steps will help you achieve a creamy texture in every scoop.
This blog post covered how to make delicious cherry ice cream. We looked at fresh cherries, cream, and milk as key ingredients. You learned step-by-step instructions to prepare the cherry mixture, make the ice cream base, and churn it.
I shared tips on picking the best cherries and achieving the right texture. We explored variations like dairy-free options and flavor twists. Finally, we discussed storage best practices to keep your ice cream fresh. Enjoy creating your cherry ice cream masterpiec