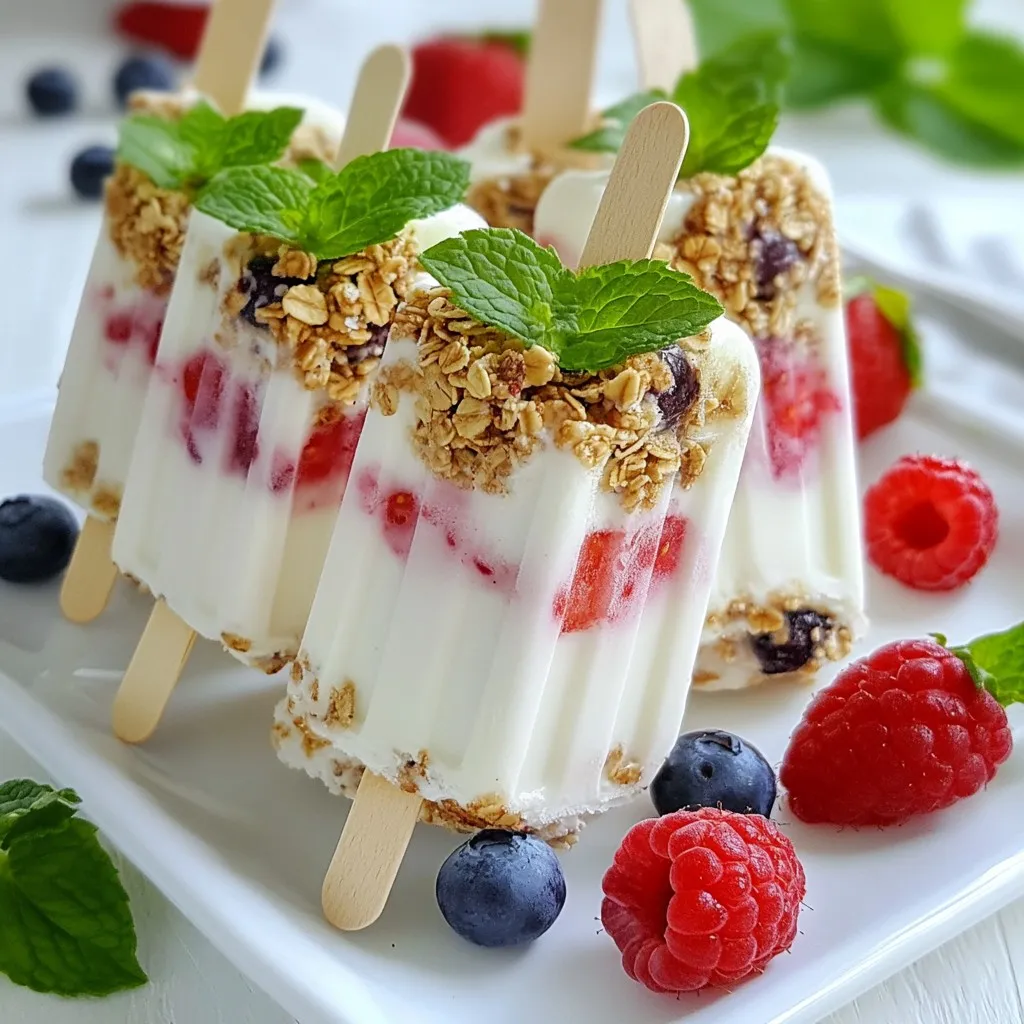
Looking for a fun, healthy treat to beat the heat? You’re in the right place! These Berry Yogurt Parfait Popsicles are simple to make and packed with flavor. With creamy Greek yogurt and fresh berries, these popsicles are not just refreshing but also nutritious. In this post, I will guide you through the easy steps to create these delightful frozen treats that everyone will love. Let’s dive into the deliciousness!
Why I Love This Recipe
- Refreshing Treat: These popsicles are the perfect way to cool down on a hot day, combining the goodness of yogurt and fresh berries.
- Customizable: You can easily adjust the sweetness and substitute different fruits based on your preference or what’s in season.
- Healthy Snack: With Greek yogurt and fresh fruit, these popsicles are a nutritious alternative to store-bought frozen treats.
- Fun for All Ages: Making these popsicles is a great activity to do with kids, allowing them to choose their favorite flavors and toppings.
Ingredients
Required Ingredients
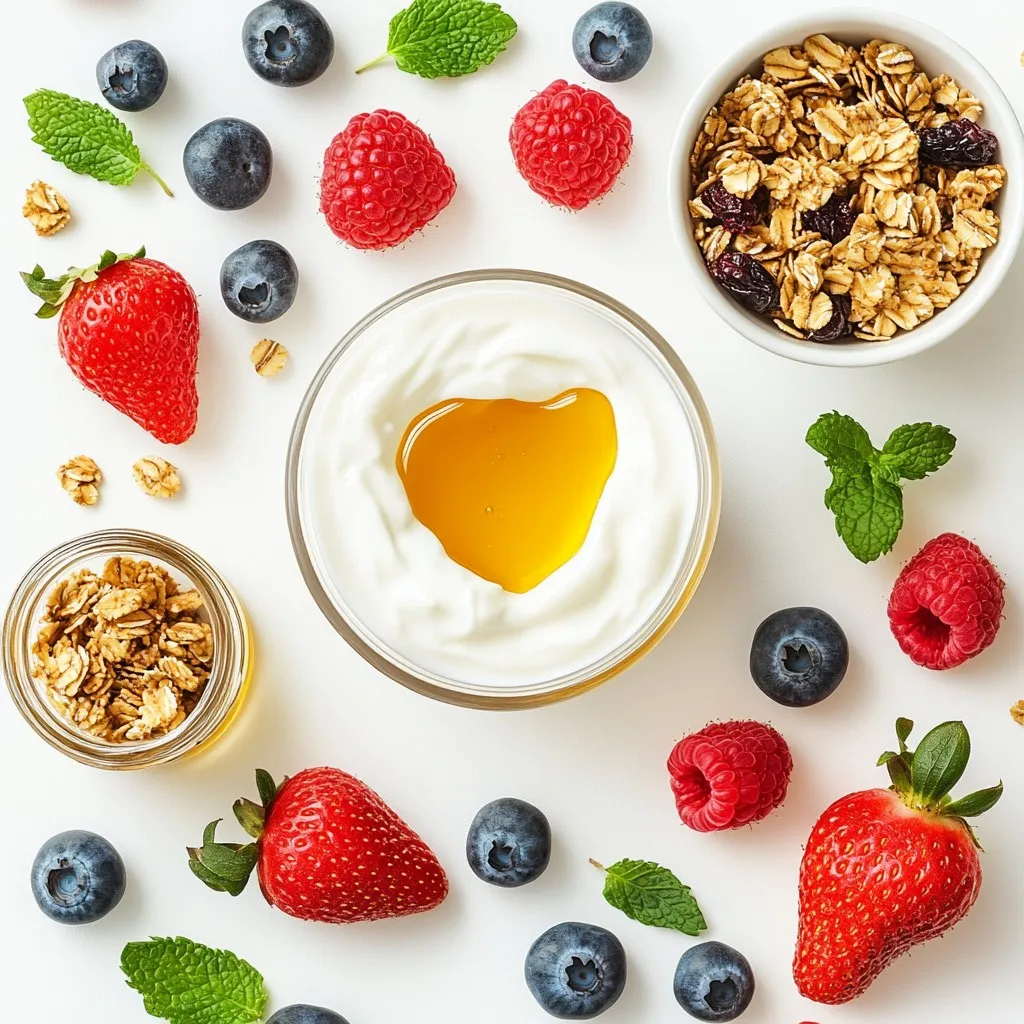
– 2 cups Greek yogurt (plain or vanilla)
– 1 cup mixed berries (strawberries, blueberries, raspberries)
– 2 tablespoons honey or maple syrup
– 1 teaspoon vanilla extract
– ½ cup granola (for crunch)
– Fresh mint leaves (for garnish, optional)
To make these berry yogurt parfait popsicles, gather the ingredients first. Greek yogurt is the base for this treat. Use plain or vanilla yogurt based on your taste. The mixed berries give the popsicles their fruity flavor and bright color. Strawberries, blueberries, and raspberries work well together.
Next, we need a sweetener. Honey or maple syrup adds just the right touch of sweetness. Adjust the amount based on how sweet you want your popsicles. You’ll also want vanilla extract for a lovely aroma and taste.
Granola adds a delightful crunch to each bite. It gives texture and makes the popsicles even more fun. If you like, you can add fresh mint leaves as a garnish. They add a pop of color and a refreshing touch.
Make sure to have these ingredients ready. They will help you create a creamy, fruity, and crunchy delight that everyone will love.
Step-by-Step Instructions
Preparing the Berry Mixture
First, gather your mixed berries. You can use strawberries, blueberries, and raspberries. Place them in a blender. Add honey or maple syrup for sweetness. Don’t forget the vanilla extract! Blend everything until it becomes smooth. This mixture adds fruity flavor to your popsicles. A smooth consistency will make for a nice texture.
Preparing the Yogurt Layer
Next, take your Greek yogurt. You can use plain or vanilla yogurt. Stir it in a bowl to make it creamy. This step is key for a rich taste in your popsicles. The yogurt will balance the sweetness of the berry layer.
Assembling the Popsicles
Now, let’s layer your popsicles. Start by adding a spoonful of the berry mixture into your molds. Then, add a layer of yogurt on top. Repeat this process until the molds are full. Finish with yogurt at the top! Sprinkle granola on the yogurt layer for crunch. This adds a fun texture to each bite. Insert popsicle sticks into the molds, making sure they stand straight.
Freezing the Popsicles
It’s time to freeze the popsicles! Place them in the freezer for at least 4-6 hours. You want them to be completely solid. To check, gently press on the popsicles. If they feel hard, they are ready!
Removing the Popsicles
When you’re ready to eat, it’s time to remove the popsicles. Run warm water over the outside of the molds for a few seconds. This helps loosen them. Then, gently pull the popsicles out. If they don’t come out easily, add a bit more warm water. Enjoy your tasty treat right away!
Tips & Tricks
Customization Options
You can make these popsicles your own. Use any fruit you like. Try bananas, peaches, or mangoes. Mix them up for fun flavors. You can also change the yogurt. Use Greek yogurt for creaminess or coconut yogurt for a dairy-free option.
Adjust the sweetness to fit your taste. Start with two tablespoons of honey or maple syrup. If you like it sweeter, add more. If you prefer less sweetness, cut back. Taste as you go to find your perfect mix.
Serving Suggestions
Garnish your popsicles for a fancy touch. Fresh mint leaves add a pop of color and flavor. You can also add extra berries on top. This makes them look pretty and inviting. Serve them on a bright plate or a fun stick. They are great for parties or a hot day.
Pop Quality Improvement
To get the best texture and taste, blend your fruits well. A smooth berry mix makes for a creamy popsicle. Stir your yogurt until it’s smooth too. This helps the layers blend nicely.
Make sure to freeze the popsicles for at least six hours. This will ensure they are solid. If you want them to be extra creamy, freeze them longer. When you’re ready to eat, run warm water over the molds. This makes it easy to pop them out without breaking. Enjoy your tasty, frozen treat!
Pro Tips
- Choose Fresh Berries: Use ripe, seasonal berries for the best flavor and sweetness in your popsicles.
- Layering Technique: To create distinct layers, pour the berry mixture slowly to prevent it from mixing with the yogurt.
- Sweetness Adjustment: Taste the berry mixture before pouring to adjust the sweetness to your liking.
- Storage Tips: Store leftover popsicles in an airtight container to prevent freezer burn and maintain flavor.
Variations
Dairy-Free Version
You can make these popsicles dairy-free by using coconut yogurt. Coconut yogurt has a rich, creamy texture. It works well with the berries. It adds a nice tropical flavor. You can find coconut yogurt in most grocery stores. Look for plain or vanilla options to keep the taste balanced. This version is great for anyone who is lactose intolerant or simply prefers dairy-free foods.
No-Sugar Added Option
If you want a no-sugar added version, use low-calorie sweeteners. Options like stevia or erythritol can work well. These sweeteners do not raise blood sugar levels. Start with a small amount and taste as you mix. You can always add more if needed. This way, you can enjoy your popsicle without added sugar.
Flavor Enhancements
To add more flavor, consider using spices like cinnamon or nutmeg. Just a pinch can change the whole taste. Cinnamon pairs nicely with berries and adds warmth. Nutmeg gives a cozy, sweet note. Mix these spices into the yogurt layer or the berry blend. It’s a simple way to make your popsicles even more special.
Storage Info
Best Practices for Freezing
To keep your Berry Yogurt Parfait Popsicles fresh, store them in an airtight container. If you use popsicle molds, cover them tightly with plastic wrap. This prevents freezer burn and keeps them tasting great. Label your container with the date you made them. This helps you know when to enjoy them.
Shelf Life
These popsicles can last in the freezer for about 2 to 3 months. After this time, they may lose their flavor and texture. For the best taste, try to eat them within a month. Remember, the sooner you eat them, the better they will be!
Thawing Tips
Before serving, run warm water over the outside of the popsicle molds. Hold them for a few seconds to loosen the popsicles. You can also let them sit at room temperature for about 5 minutes. This helps them thaw slightly and makes them easier to remove. Enjoy your popsicles as a refreshing treat!
FAQs
Can I use frozen berries instead of fresh?
Yes, you can use frozen berries. Frozen berries are just as good as fresh. They often have more flavor. They are picked at peak ripeness and then frozen. This means they hold their nutrients well. Plus, using frozen berries gives you a nice, thick texture in your popsicles. It makes blending easy, too. Just remember to thaw them a bit before blending for the best results.
How can I make these without molds?
If you don’t have molds, you can use small cups. Fill the cups with the berry and yogurt layers. You can use paper cups or even ice cube trays. Just insert a popsicle stick in the center of each cup. Freeze them like normal. After a few hours, you can enjoy your popsicles right from the cups.
What’s the best way to clean popsicle molds?
Cleaning popsicle molds is simple. Start by rinsing them with warm water. This helps remove any stuck bits. Then, use a little dish soap and a sponge. Make sure to reach all the nooks and crannies. Rinse well to remove all soap. Dry them completely before storing. Keeping them clean helps them last longer and makes your next batch easier to make.
In this blog post, we covered how to make delicious yogurt berry popsicles. You learned about the essential ingredients, step-by-step instructions, and helpful tips for customization. Remember, you can use various fruits and yogurts to better suit your taste. For smooth, tasty popsicles, freeze them properly and store them well. Lastly, don’t hesitate to experiment with flavors and sweeteners. Enjoy your homemade treats and share them with friend